Handling & Insertion
General insertion guidance
It is essential you are able to identify which plug goes into which ear. Unless special colours have been ordered, any writing, or tiny markers on the plugs themselves will indicate which ear it is designed for:
Red = Right
Blue = Left
You may find it easier to use a comfort cream (as provided) and to pull your ear upwards while opening your mouth. Plugs should be comfortable exerting light pressure in your ear.
*These instructions illustrate insertion of right ear custom plugs
Canal tip
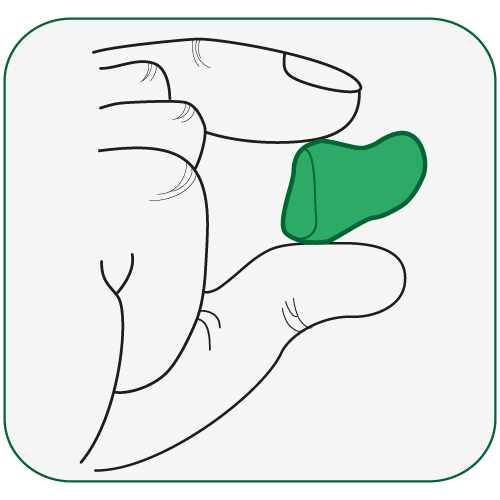
1. Hold the thicker, flatter end of the plug with your index finger and thumb (like you would a marble). Ensure the long pointed end is directed inwards towards you.
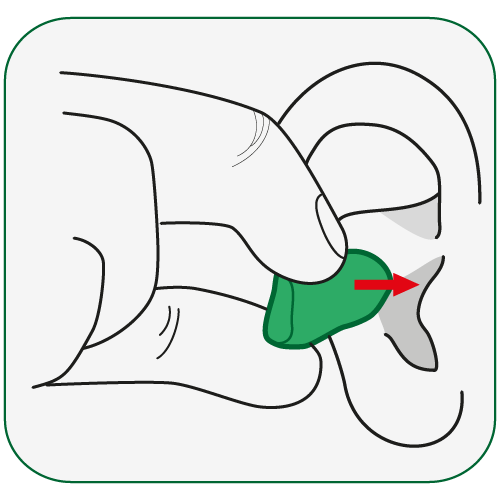
2. Line up the long pointed end with the opening of your ear canal (as shaded). Ensure the long pointed end is directed inwards towards you.
3. Gently insert the longer pointed end of the plug into your ear canal. Opening and closing your mouth, along with slightly twisting the plug, can ease insertion.
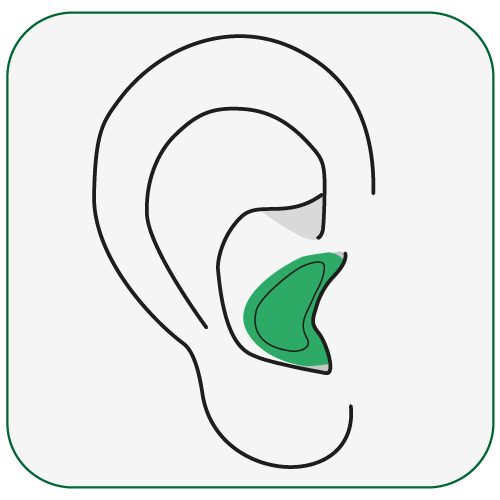
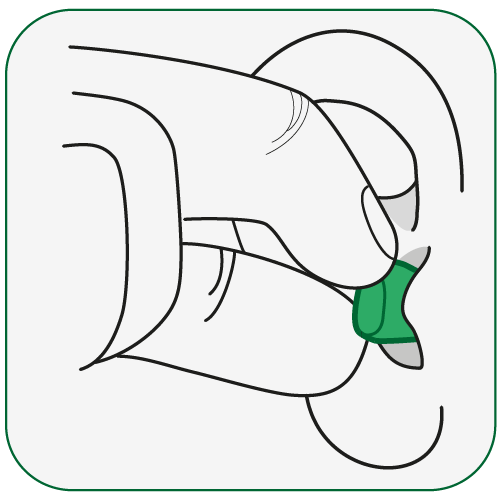
4. Press the plug with your index finger to ensure it is properly inserted. Once inserted, the plug should sit comfortably and flush in the ear like a jig saw piece.
Full shell
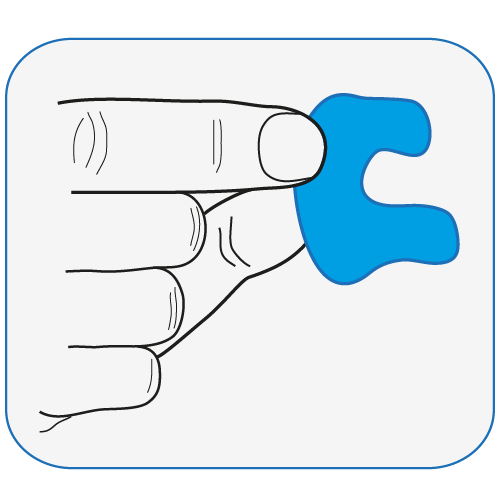
1. Hold the curved edge of the plug with your index finger and thumb (as if you were pinching it), with the shorter pointed end positioned on top. The longer pointed end at the bottom should be directed inwards towards you.
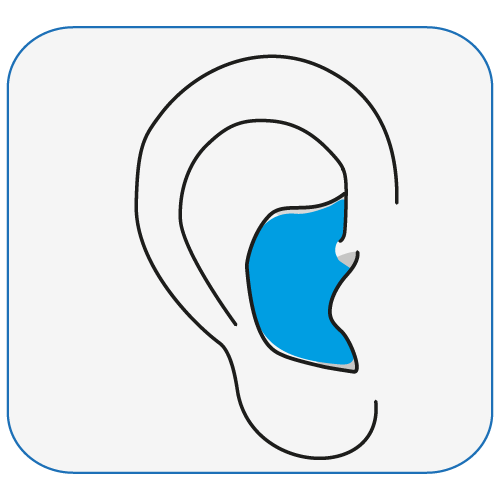
2. Line up the shorter pointed end at the top, with the fold of skin just above the opening of your ear canal (as shaded). Line up the longer pointed end at the bottom, with the opening of your ear canal (as shaded).
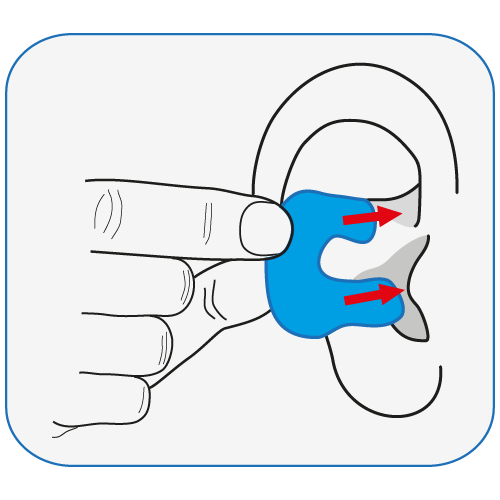
3. Gently slide the plug into your ear, ensuring the top end tucks underneath the fold of skin above your ear canal and the bottom end firmly enters your ear canal. Pulling your ear lobe down with your other hand, along with slightly rocking the plug back and forth, can ease insertion.
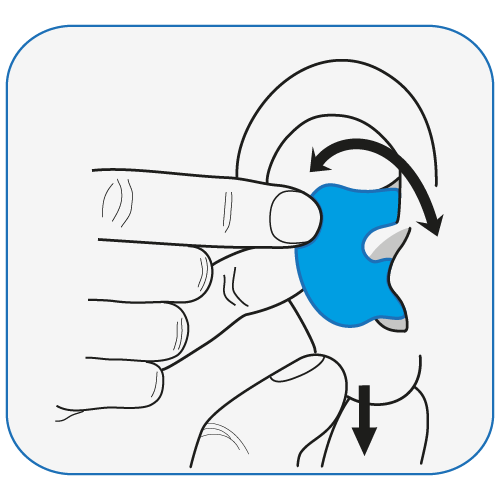
4. Press all parts of the plug with your index finger to ensure it is properly inserted. Once inserted, the plug should sit comfortably and flush in the ear like a jig saw piece.
Removing your custom ear plugs
To remove, lightly pull the extraction cord or finger grips (where fitted). Alternatively, place your finger behind your ear and push your ear forward. Opening and closing your mouth a couple of times will help the plug work itself out. Never extract plugs violently or by pulling the cable of your earphones (where fitted).
Attaching your Shure SE535 monitors to your LEL Live ear plugs
(Please use images below as guidance for illustrations)

1. Remove the cable from the driver and position alongside your LEL Live plug. Now double check that the driver and the LEL Live plug are for the same side ear.
There is a small hole on the body of the LEL Live plug- this is where the sound outlet tube at the end of the driver needs to be positioned. Accordingly, line-up the sound bore outlet with the hole on the plug and push down.

2. Keep pushing the sound outlet tube on the driver into the plug until it goes no further. If it feels a little tight when doing this, use some of the comfort cream provided with your plugs on the driver body to help it slide in more easily.

3. The driver should now be sitting nice and securely inside the encasement area of the plug. Only remove the Live plug occasionally to clean and be careful if you have sharp nails when handling as they could slice the material.